For the Love of Sinigang

Mountains, meals, and everything else that feels like home

    • Mt. Parawagan trail: beginner friendly (trust me, it really is)
    • Mt. Ayaas trail: for more advanced hikers (trust me rin! try at own risk haha!)

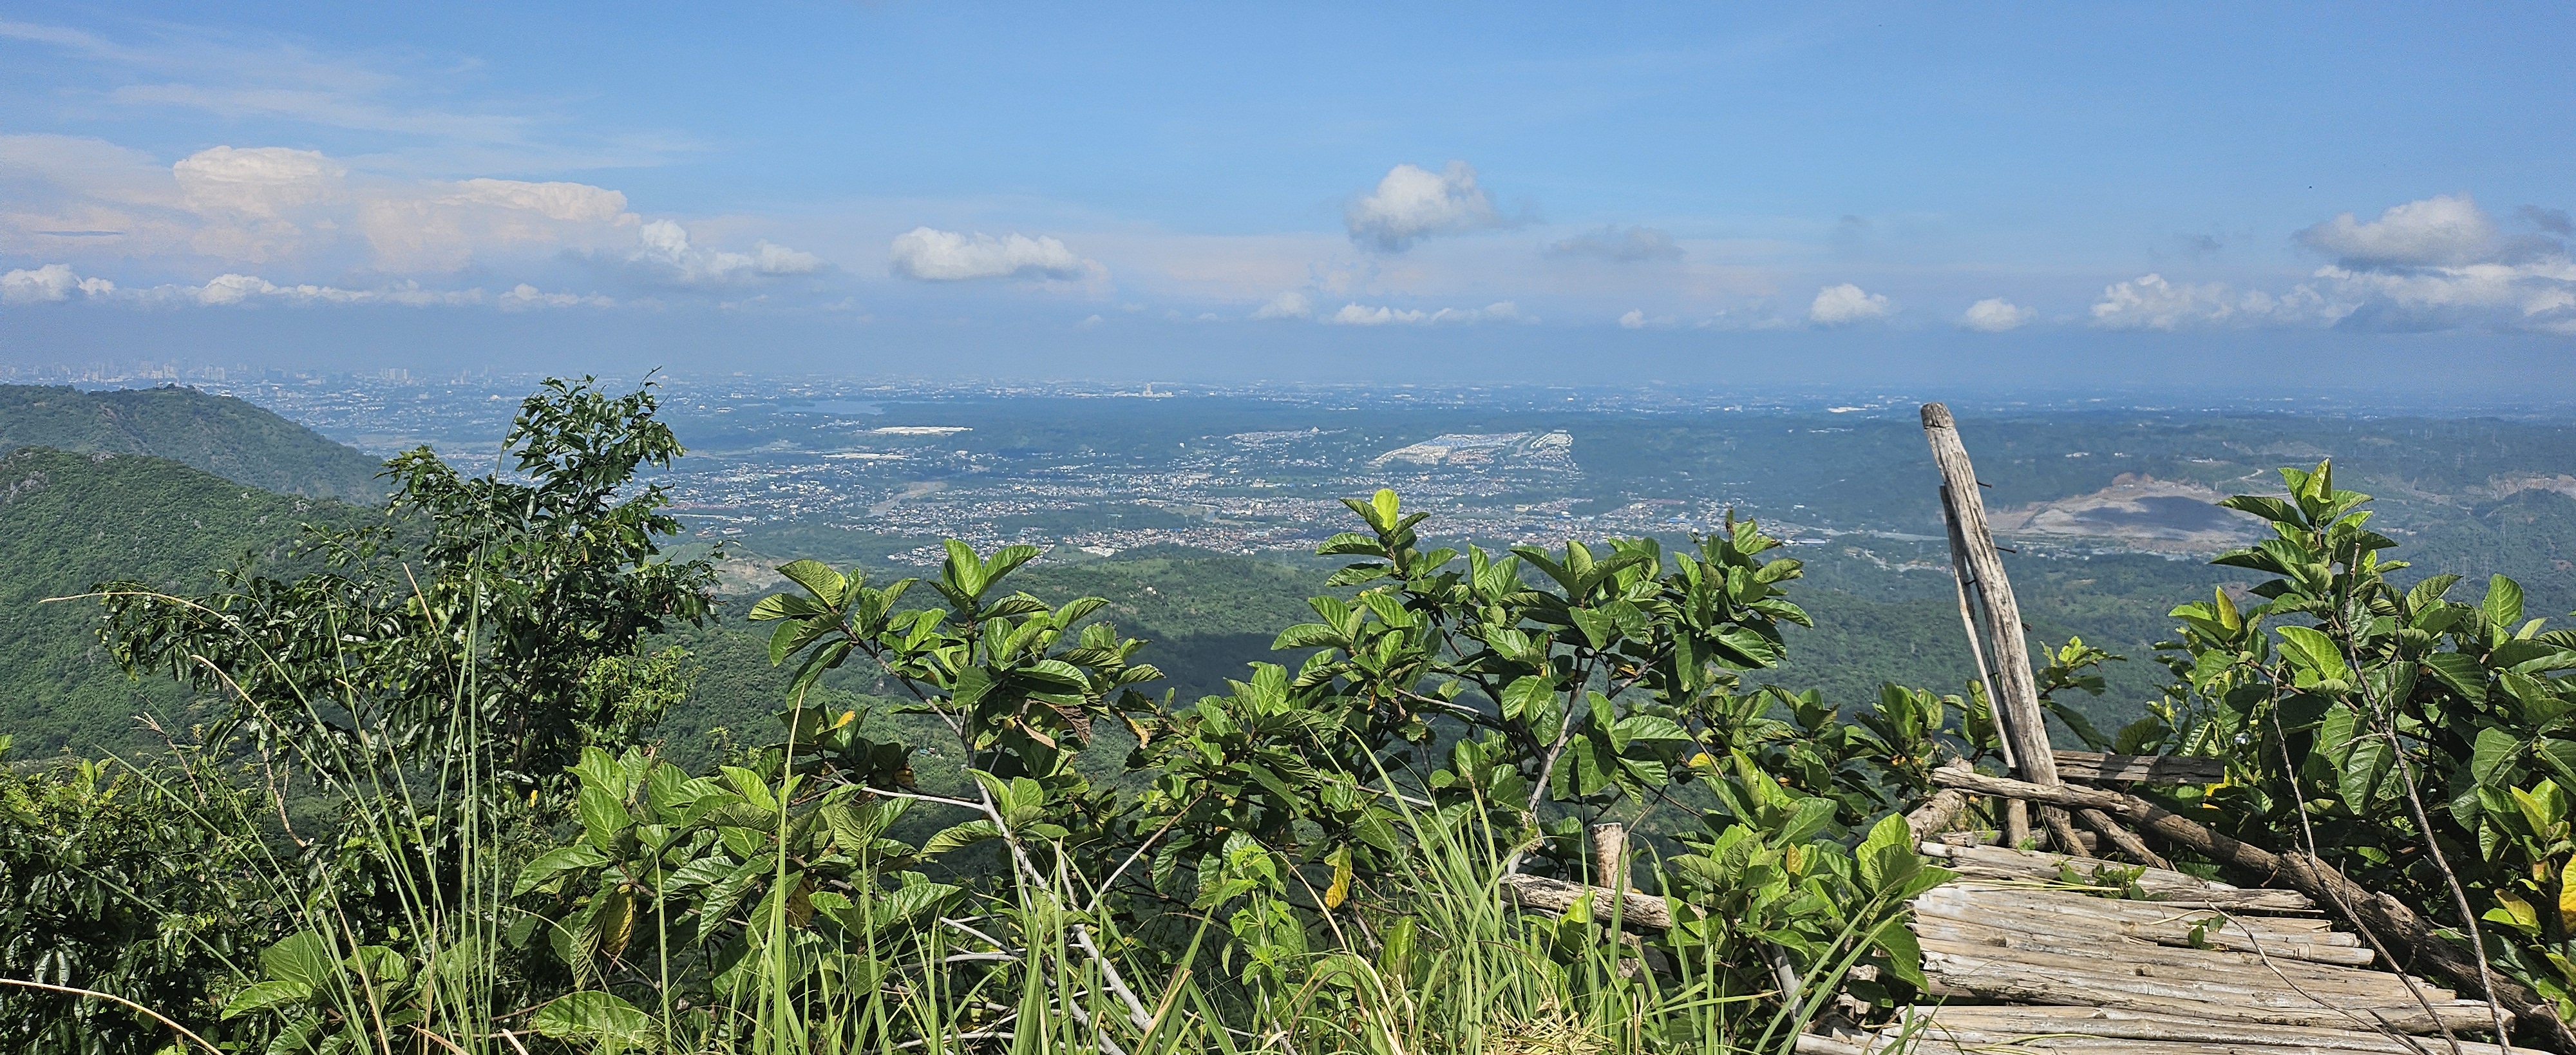
    First, I just want to say: I love Wawa. Officially called the Pamitinan Protected Landscape, it’s in Barangay San Rafael, Rodriguez, Rizal, which is home to the famous Wawa Dam.

    You’ll start from a lively hub where you’ll find the local environmental offices, barangay hall, and tourism office, surrounded by eateries, sari-sari stores, and fresh vegetable vendors. It’s the main gateway to one of the most popular outdoor destinations near Metro Manila, known for hiking, biking, trail running, and rock climbing. On weekends, you’ll also find families and groups enjoying picnics by the river.

    It’s only about a 40-minute drive from Quezon City and easily accessible by car or commute. There’s designated visitor parking (PHP 30.00 flat rate), and plenty of nearby stores for fueling up before or resting and showering after your hike (shower fee: PHP 20.00). Four Brothers Store is a popular spot especially for trail runners, as they sell energy gels and other running fuel. But personally, I’m more of a Norma’s Eatery kind of person. (And if you’re curious “YES!”they serve sinigang, which I order without fail whenever I’m there).

    If it’s your first time in Wawa, I highly recommend joining a group or tagging along with friends familiar with the trails. Trail run groups are a great way to get to know the routes; doing a few rounds with them helps ensure you don’t get lost.

    Mt. Parawagan

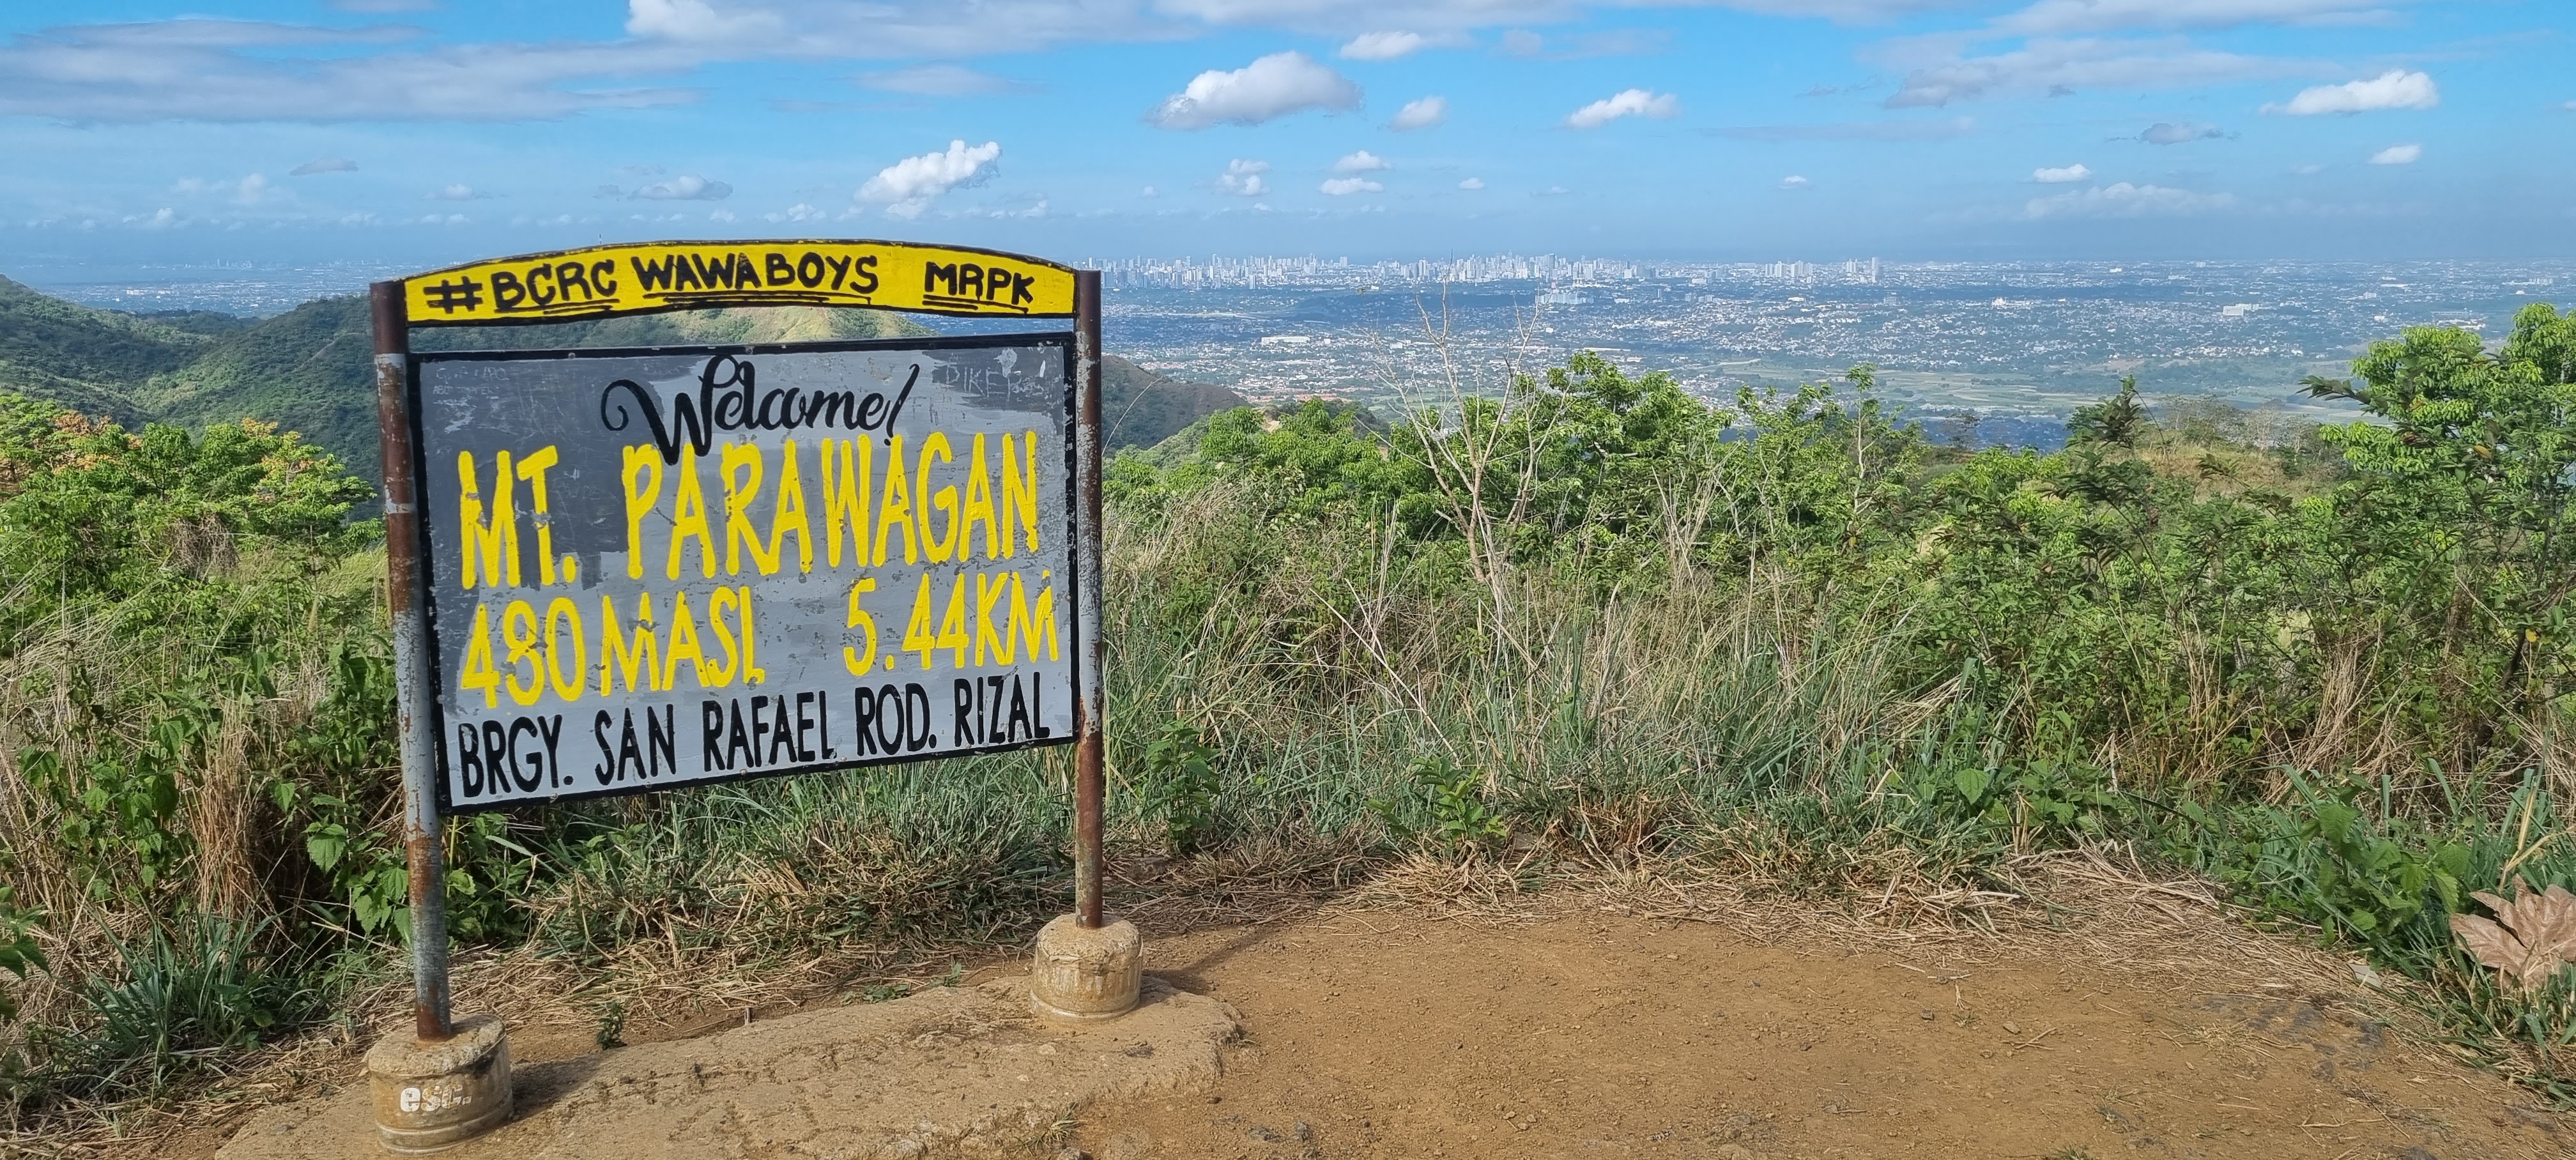
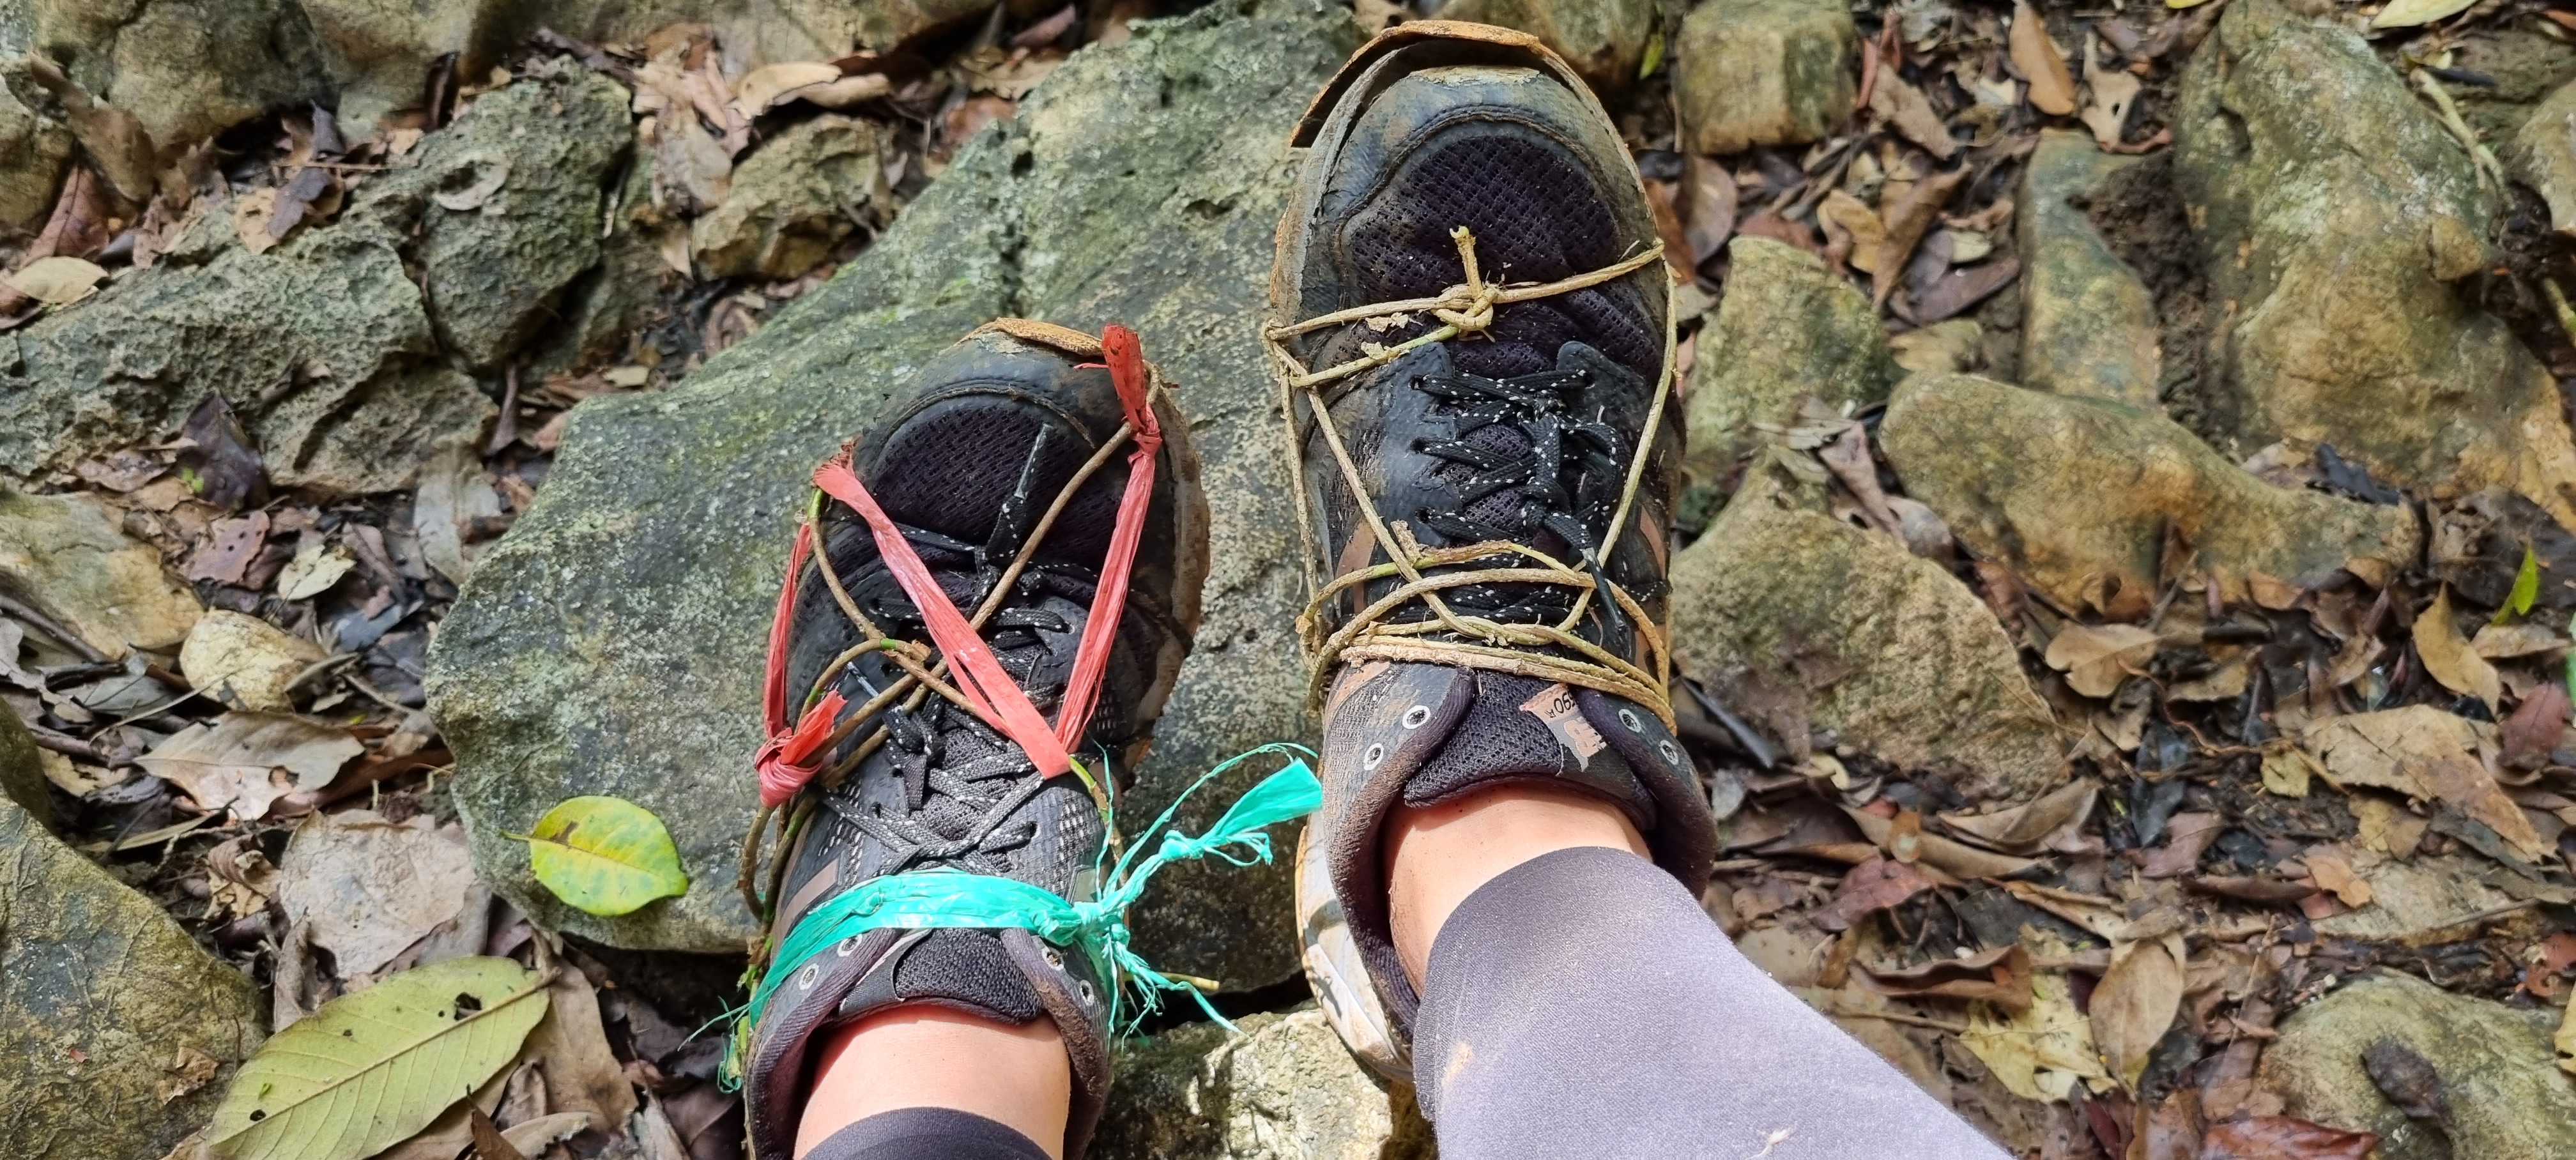
    One of the most accessible mountains near Metro Manila, Parawagan offers a good entry-level trail. More than half of it is already cemented, which makes it manageable for beginners but don’t be fooled, it still has its challenges especially when you’re not quite fit. Five years ago, it took me over 5 hours to complete the 10km route (5km up, 5km down) thanks to my untrained lungs.

    It’s also a favorite among bikers, motorcyclists, and even 4x4s so the trail/road can be quite crowded on weekends.

    Midway up is Acacia Junction, marked by a grand Acacia tree and a few stores a perfect place to rest and grab (let’s be honest you’ll need two) cups of fresh buko juice.

    The upper section is great for practicing downhill running.

    Mt. Ayaas

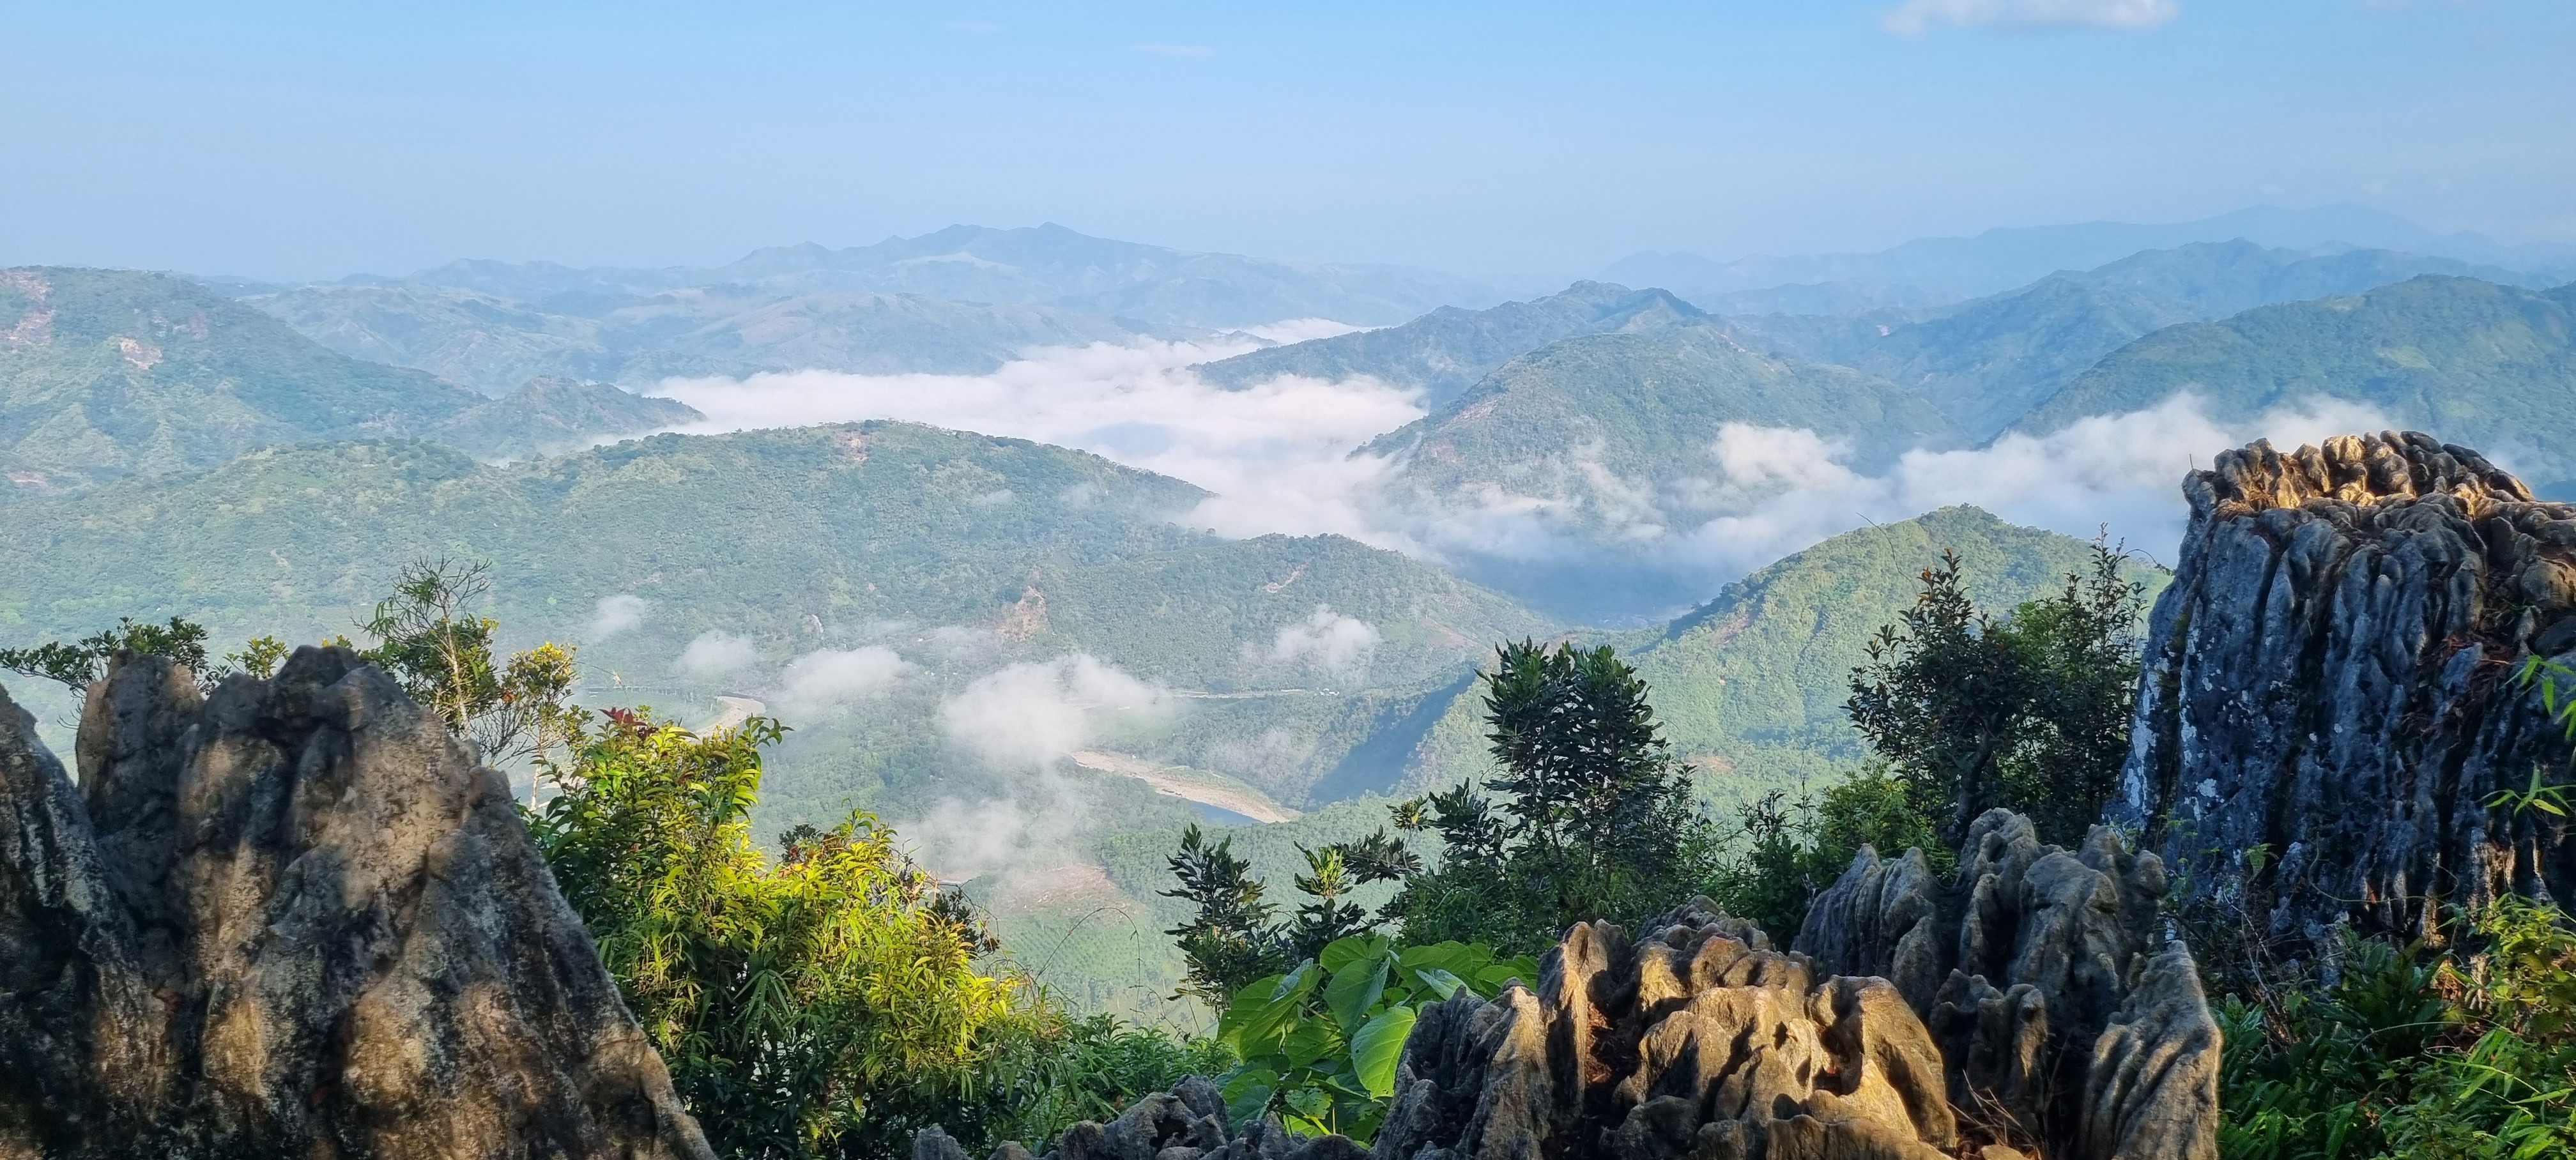
    If you’re looking for a serious workout, Mt. Ayaas is the way to go. You start past the bridge to Mascap, and from there it’s a series of steep, endless ascents. There are rocky and boulder sections that really test your balance. As you near the summit, you’ll encounter three false peaks, which can be a mental challenge. The standard route is a 10km backtrail (5km to the peak, 5km back), but it’s highly customizable.

    If you’re already familiar with the trail, you can extend your route to explore nearby waterfalls and rivers, or exit through the other path from the peak. Your 10km can turn into 20, 30, or more depending on your energy and sense of direction.

    There are sari-sari stores along the way that are open on weekends, so you don’t need to bring too much water unless you prefer the solitude of quieter weekdays. You’ll also spot plenty of seasoned trail runners, more likely passing you than the other way around.

    I trained weekly on Mt. Ayaas in preparation for my Kilimanjaro hike, and honestly, I think it’s what saved me!

    So if you’re looking for solid trails near Manila that offer a great mix of comfort, convenience, and challenge, Mt. Parawagan and Mt. Ayaas are two of your best bets, whether you’re just starting out or seriously training for something big.

    Happy running!

  • Weeks before:

    I contacted a local guide, Kuya Juanson, and inquired about Mt. Daraitan day hike. He quoted PHP 1,000.00 inclusive of all tour expenses and the guide fee.

    He said the hike starts at 3:00 am. I was quite shocked as this seemed too early. I was able to haggle for a 4:00 am start since I planned to go on a weekday. Kuya said the route is very popular and is packed during weekends, but we can start late on a Tuesday. The hike usually takes 6 to 8 hours and will include going up and down the mountains, straight to the river and the nearby cave.

    I really don’t know how to hike. I thought I’d just wing it, but not without any prep. So I walked/lightly jogged every morning for weeks leading up to the hike (this really helped get me in shape!).

    Morning of:

    I love to drive, especially on long winding roads, so this hike started with my drive from Quezon City to Daraitan Barangay Hall in Tanay, Rizal. I got there earlier than expected — left QC around 1:00 am and arrived before 3:00 am.

    I parked my car in front of an eatery called Wow Chibugan (a few meters away from the Barangay Hall) and decided to sleep for an hour more. When I woke up, the eatery’s caretaker was up and about, he offered coffee which I obliged and he apologized that owner wasn’t around so he couldn’t fully open to provide breakfast.

    Kuya Juanson was on the dot, he picked me up at the eatery at exactly 4:00 am. He was concerned that I haven’t had breakfast so he took me to the nearby sari-sari store1 for some instant noodles before walking to the Barangay Hall, where he paid the fees, and the Tourism Office, where the local staff gave us a briefing. Found out that I needed gloves, as there were a lot of rock climbing, so I bought at one of the sari-sari stores for PHP 50.00.

    The hike:

    Mt. Daraitan is known for steep ascents, some rock climbing, and muddy trails. During the assault, I couldn’t hear anything but my heartbeat was deafening. The rocky peaks were amazing but safety should be the priority. Don’t do something dangerous for a good photo, no need to climb to the top if you are not comfortable or don’t trust your balance. Mountain guides are usually great photographers so don’t fret, they’ll be able to make it work.

    Wore an old pair of trail running shoes for this hike. Soles gave up on me. Kuya tied my shoes with plastic straws and vines. Down by the river there are stores where you can get snacks, or in my case buy slippers.

    As much as I enjoyed the hike, I think it was Tinipak river that stole the show. I didn’t expect it to be that pretty. It was truly breathtaking!

    We started hiking at around 5:00 am. And because it’s a weekday, no long queues in the photo spots, we were done with the hike, a bit of swimming, and cave exploration just in time for lunch at Wow Chibugan. Good thing, they also have showers (for a small fee of PHP 20.00).

    Because the river straddles between two provinces (Tanay, Rizal and General Nakar, Quezon) the local communities in both areas will charge some environmental fees before and after crossing, this was not part of what I paid Kuya, but I remember it was less than a hundred in total (so bring extra cash!). I got a bit lazy as the noontime sun was too hot, so I decided to take a tricycle back to where I parked.

    Quick guide:

    ActivityDIY Mt. Daraitan day hike with Tinipak River and cave
    Jump offDaraitan Barangay Hall/Tour Guide Office
    https://maps.app.goo.gl/4rkUXCujycWps18n8
    Duration6 to 8 hours
    DifficultyThis requires a moderate level of fitness due to non-stop assault, muddy sections, sharp rocks, and boulders.
    FeesBudget about PHP 2,000.00 (you don’t have to spend it all)
    — PHP 1,000.00 (all-in for guide and tour fees)
    — PHP 1,000.00 (extra for tip, community levies, food, shower, and emergency purchases)
    Things to bring– Daypack
    – Headlamp, as the hike starts early
    – Gloves, you’ll be climbing rocks
    – 1.5ml water
    – Happy snacks! =)
    – Emergency and personal meds
    – Insect repellent
    – Sunblock
    – Whistle
    – Phone
    – Change of clothes, toiletries (can carry with you or leave in your car; waterproof if carrying)
    Attire– Dri-fit shirt
    – Recommend leggings and arm sleeves against mosquitoes, especially before sunrise
    – Comfortable hiking shoes/boots, strongly recommend closed shoes instead of sandals, to protect toes against edges

    This DIY can be a bit pricey when you’re doing it alone, but with a few friends (maybe a group of 4 or 5) it will be cheaper than an organized hike, although I haven’t priced the gas.

    1. Local convenience store that sells almost everything you need ↩︎